Here you will find the most frequently asked questions
How to create the new access to the Platform?
To create new access to the newsPoint Platform, contact your Account Manager who will generate new logins and send them directly to recipients from your organization.
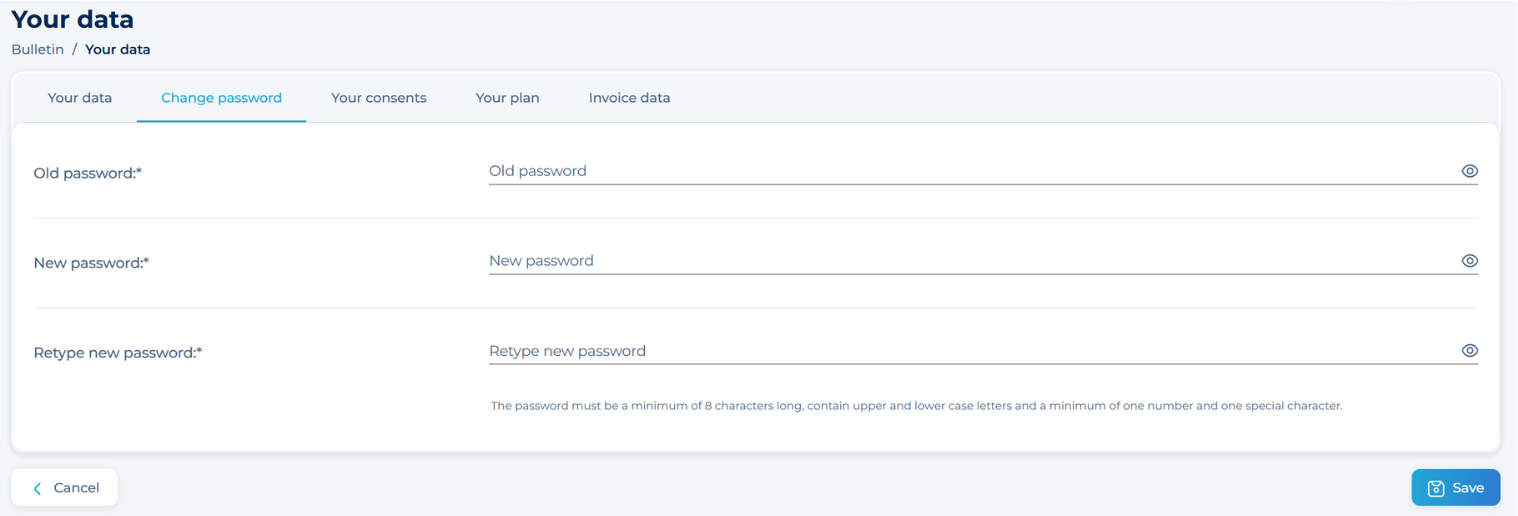
How to change password?
To change password, go to the Platform settings by clicking on your username in the top right corner. Select “Your Data” and then go to the “Change Password” tab.
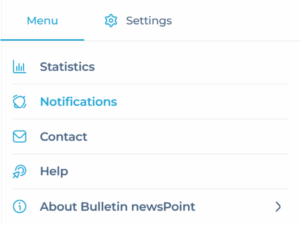
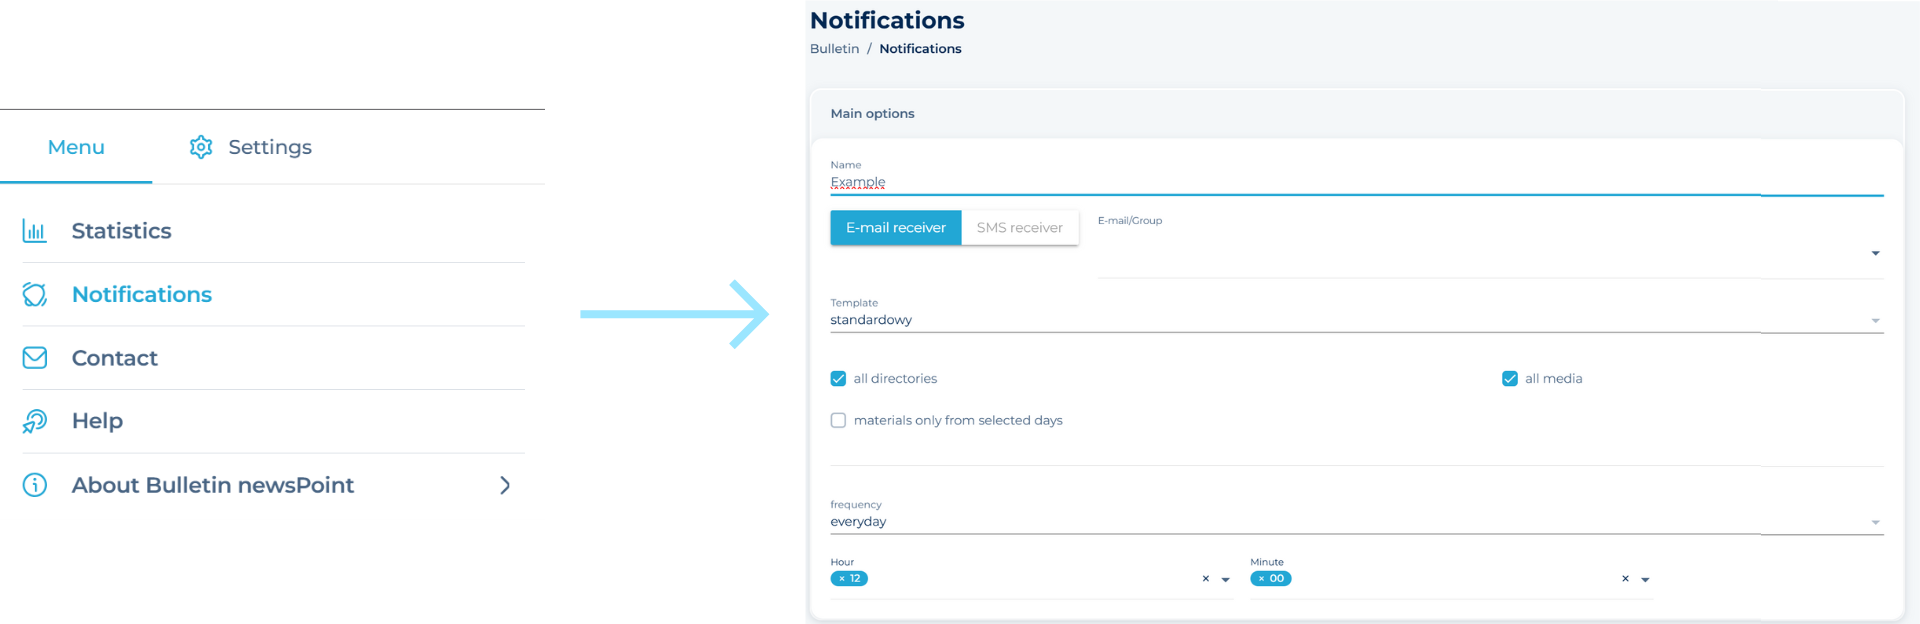
How to add an e-mail address to newsletter with the media review?
You can add, remove or change an email address on your own in the Settings, which are located under the Notifications tab in the Main Menu of the application. You can also contact your Account Manager in this case at any time. Remember that you can add up to 5 such addresses at no extra charge.
How to use advanced search engine on the newsPoint Platform?
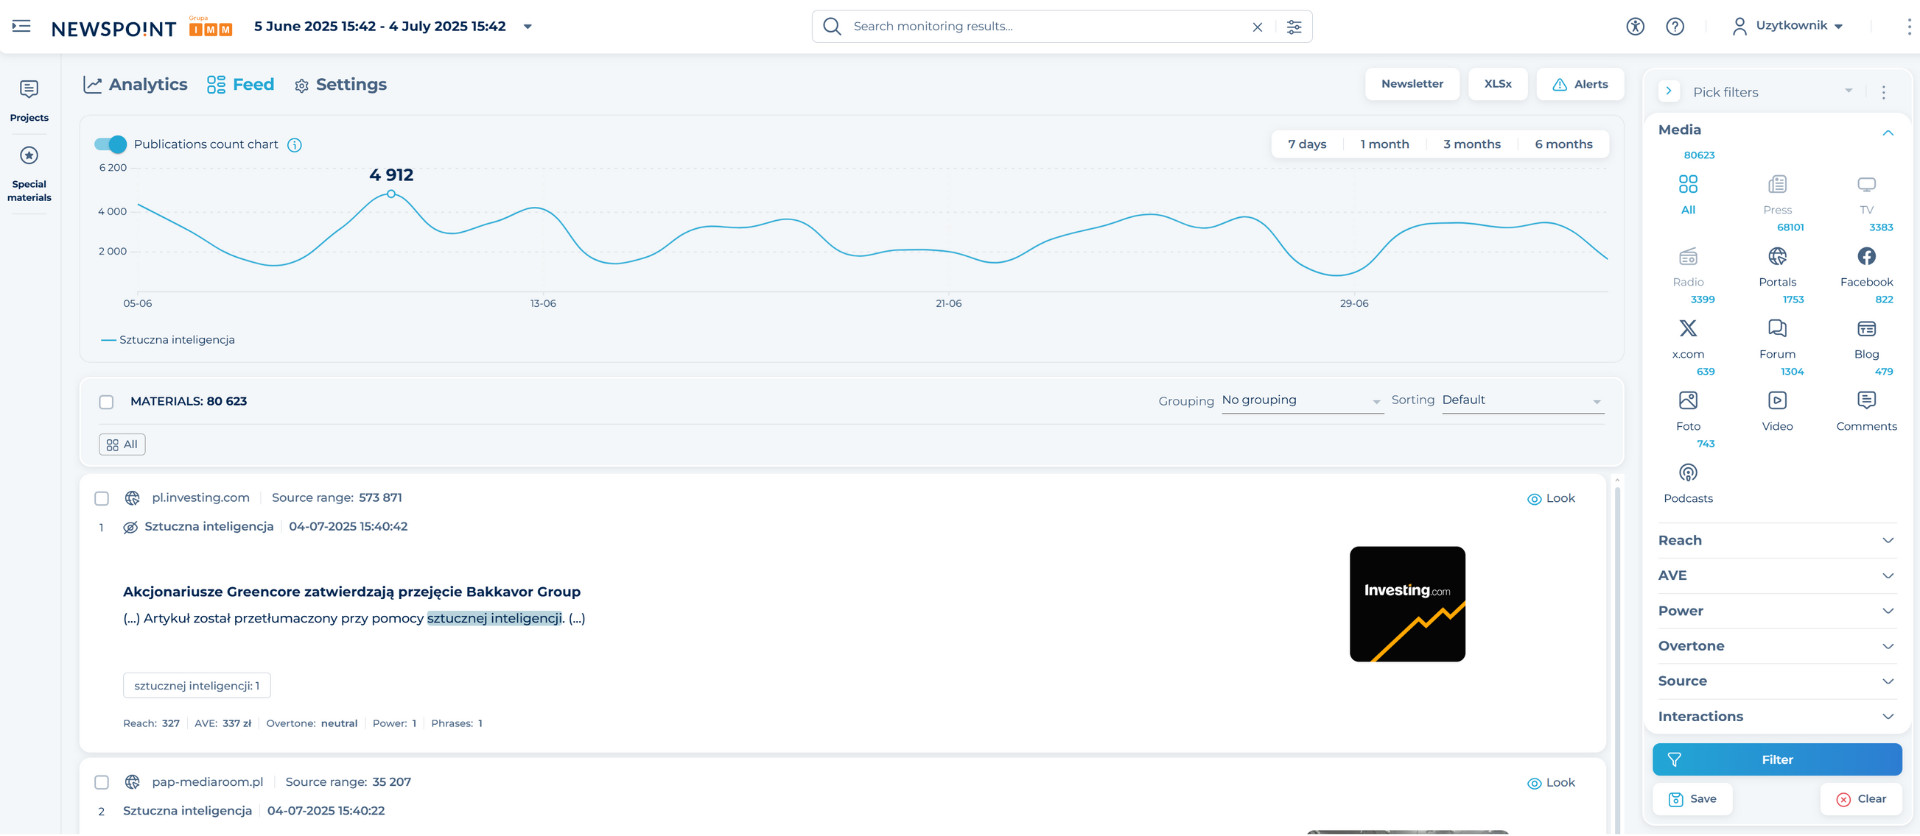
At the top of the newsPoint Platform, there is a search engine with advanced search capabilities, which allows you to search monitored publications from all projects.
 You can search for information by phrase, and in the advanced options also by words that clarify the sought information and include declention of the phrase or the size of letters.
You can find the advanced options by clicking on the icon on the left side of search engine. After following the instructions below, advanced search will have no secrets for you.
- Enter key words or phrases to search for the desired materials, e.g. Media Monitoring Institute.
- Next, decide whether you want the searched materials to include declention of the phrase or the size of letters.
- Next, type words or phrases that you want to see in the results. For example Media Monitoring. If you add media monitoring and monitoring to the key phrase, you will get publications that mentioned at least one of the aforementioned clarifying words.
- You can supplement the key phrase Media Monitoring Institute, for example with a review of publications which authors mention IMM including phrases like media monitoring, monitoring and review of publications.
- Enter words or phrases that you do not want to see in the results, for example Job advertisement.
- Using additional criteria, determine the number of words between the keyword and the clarifying phrase. In the case of a phrase Media Monitoring Institute, this number could be 10 – then the media monitoring results will not include publications which mention Media Monitoring and Monitoring phrases in a bigger distance than 10 words from the keyword.
- Narrow down your search to publications in which a given phrase occurs a specified number of times at the minimum. In this way, you will dodge publications in which a given phrase occurs too rarely as an unimportant mention in the context of full content of the article.
- In the last step, decide and select if you want to receive materials with a content and a title or just the titles.
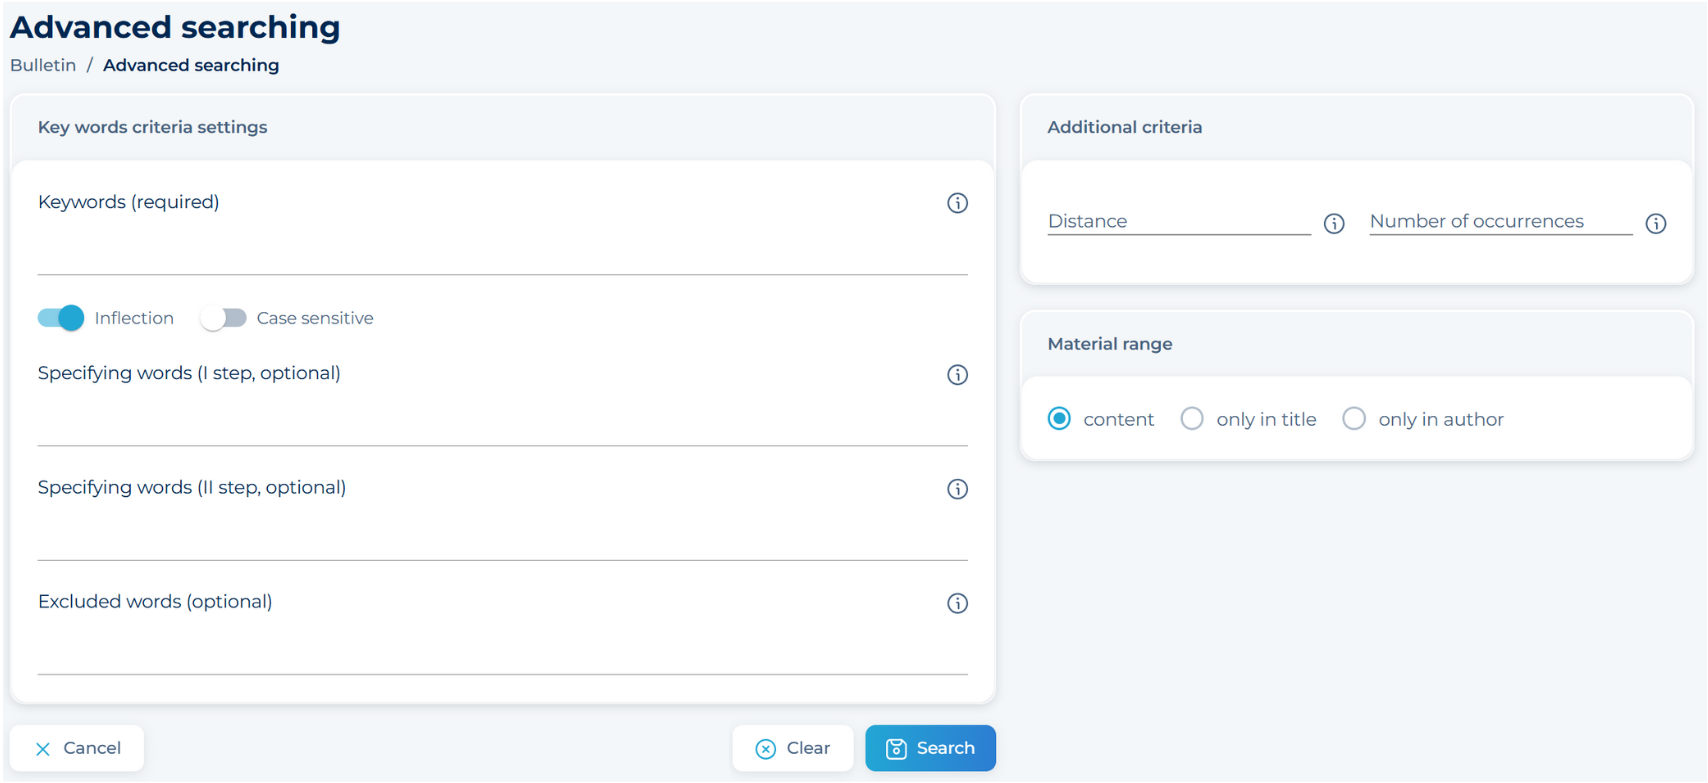
- Save changes
Below, you will find a properly filled out form:
How to display material from specific medium?
Individual media are assigned to the media icons displayed on the right side of the Platform. Clicking the icon ![]() allows you to select or deselect all media. It also indicates the sum of all materials from the monitored media. By selecting a specific media icon, you can view monitoring results from one type of media or from several at the same time.
allows you to select or deselect all media. It also indicates the sum of all materials from the monitored media. By selecting a specific media icon, you can view monitoring results from one type of media or from several at the same time.
How to simultaneously download several materials from a particular medium?
From the Feed select materials that you want to download. Next decide in what form you want to review the downloaded materials. Detailed instructions for generating specific reports are to be found beneath the links below:
How to calculate AVE/Reach for all materials?
Select materials of your interest. Then check out the detailed indicators with the use of XLSx, Statistics or Analytic Module.
XLSx:
Select materials in the Feed, then download the report in the form of XLSx. The generated document will be automatically saved in the Special Materials folder or in the Downloads folder on your computer.
The generated report contains two tabs. One of them is the list of materials that have been described by newsPoint’s indicators. The other tab includes such data as total number of materials, total equivalent (AVE), total Reach, and the overtone of materials.
Statistics:
Select materials in the Feed, then download Statistics, which you will find in the Main Menu of the application. The generated document will be automatically saved in the Special Materials folder or in the Downloads folder on your computer.
Analytical Module:
Enter the Analytical Module, which you’ll find at the top left of the Platform. You can view reach/AVE statistics for individual projects or media using the charts on the Media Map.
How to create statistics from specific materials?
To generate a summary of charts and tables containing data about the materials you monitor in the form of statistics, select the Statistics option from the Main Menu. You have the option to generate one-time statistics from a given period and selected media using the Generate Now option. If you want statistics to be generated cyclically at specified intervals, select the Generate cyclically.
How to report Off-Topic materials?
You can report every Off-Topic material. This information goes to your Account Manager and the material is removed from Your Platform.
How to download selected charts from the Analytical Module in one go?
Collective download of charts is not possible, it is necessary to download them separately and save them to the computer disk.
How can I filter content by: media name, date, slogan, sentiment, context, AVE or province?
To narrow your results, use material filtering. When you click < icon a list will be displayed under the Main Menu, with which you will select the parameters that interest you. Filtered materials will automatically appear on your Platform. You can change filters in the same way at any time.
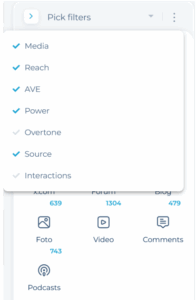
Save your filter:
If you want to use the set parameters again, save the filter and use it in the future. You’ll find the saved filter along with the predefined filters at the top of the window.
Predefined filters:
- Select the „Filters” section located in the main menu.
- Find the list of predefined filters and expand it to see the available options such as „in linkedin” and „important”.
- If you want to search for content only from LinkedIn, select the filter marked „in linkedin” from the list.
- Or, if you want to search for content with the highest importance (materials appeared on the home page), select the „Important” filter.
- After selecting the appropriate filters, click the „Filter” button to apply the settings.
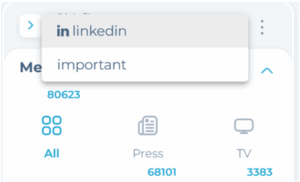
Remember that predefined filters are automatically set on the Platform, but depending on the available options, you can customize them to your preferences and needs.
?If you want to filter materials by specific media, use the Media tab, which is located on the right side of the Platform. The collected materials are sorted in terms of the types of media in which they appeared. Next to each icon, in the upper left corner, the number of found materials from the selected period is displayed.
- By clicking on specific icons, you can view monitoring results from selected media.
- All materials from the selected catalog, period and medium will be displayed automatically.
- You can select multiple buttons at once to view content from several types of media.
- Click on the first icon to select or deselect all media. It also indicates the sum of all materials from all monitored media.
Do you want to quickly find the materials you need? Use the following options to narrow your results:
- Select the time period from which you want the content to be viewed.
- Select the catalog and medium for which you want to narrow the results.
- You can also use the advanced search option.
- Use the filters that are available on the right side of the Platform.
How can I create a Newsletter from selected publications?
Create an individualized Newsletter that you can quickly send to those interested. Select in the calendar the time interval from which you plan to send publications and projects from which materials are to be included in the Newsletter. On the left, select the materials you want to include in the shipment (using the checkbox you can select all). In the upper-right corner above the publication window, select Newsletter option.
How to disable duplicate content on multiplication portals?
If you do not want duplicate multiplication content to be included in the results, please contact your Account Manager. However, if you only want to shorten the form of presentation, take advantage of the possibility of grouping by topics, which greatly simplifies the analysis of monitoring. This feature will help you especially with large collections of publications or in a situation where you want to quickly identify the main thematic trends.
How to group materials on the same subject?
Activate the grouping option by selecting it above the publication window. Once it is selected, you can expand thematic lists that contain thematically organized materials.